FlareonzVerse
I'm written in c++
Connect MicroSD throw SD Adapter to ESP8266
Flareonz44 - May 17 2023

I was considering saving data on a MicroSD card using my Wemos board, which features the ESP8266EX. To accomplish this, I decided to search on web stores and found an SD module available for just 3 dollars, including shipping. However, the shipping time was over 2 months from China, and purchasing from local stores was not an option as they were slightly more expensive and offered larger modules in terms of dimensions. As a result, I came up with the idea of directly wiring the MicroSD card to the board, bypassing the need for a module and avoiding the wait.
The idea
The objective was to use as little space as possible, so the initial idea was to directly wire the pinouts of the MicroSD card to the board. However, I encountered a problem with the tiny pitch of the pinouts, and I was concerned that my soldering skills were not good enough to prevent melting the entire card and destroying an 8 dollar memory card. Therefore, this was not a viable option. Then, I realized that I could use the SD card adapter that typically comes with most MicroSD cards. While it is slightly larger, it allows me to easily switch between different MicroSD cards and extract them for connection to my computer via an all-in-one memory adapter.
Wiring
After a quick Google search, I discovered that SD cards use the SPI interface, which made it easier for me to understand how to wire everything. I created this simple wiring diagram:
 ONLY USE 3.3v, NOT 5v, otherwise you’ll fry the MicroSD
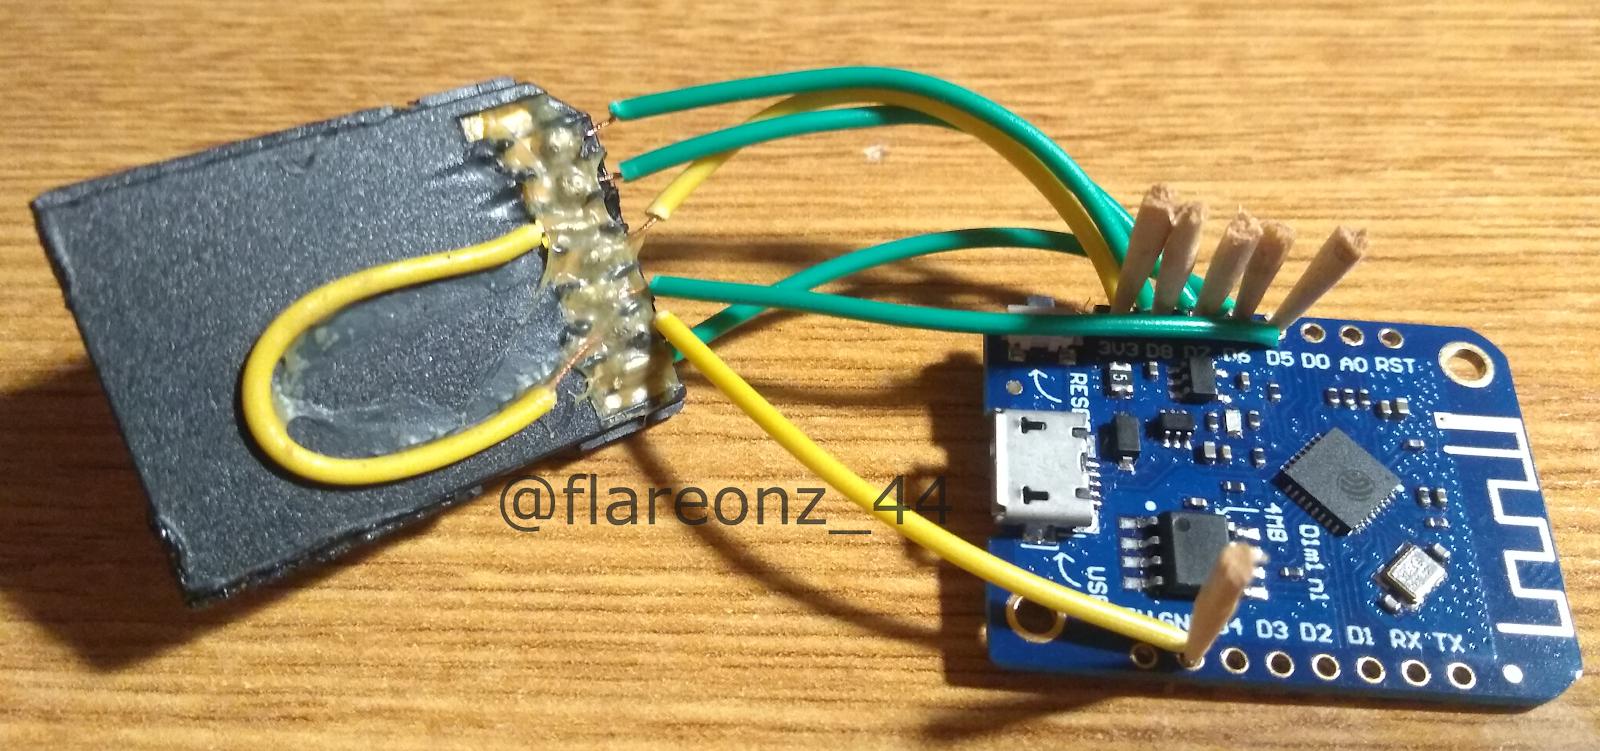
The next step was the most challenging: soldering. The contact pins of the SD adapter are surrounded by plastic, so I recommend soldering as quickly as possible. I took two Dupont wires and removed the connectors, splitting the cable into four shorter wires. I applied some solder to the tip of each wire and kept the soldering iron in contact with the solder to maintain it at the melting temperature. Then, I placed the wire with the hot solder onto the contact pin and removed the soldering iron tip, allowing the solder to cool down and solidify. Note that in the diagram, I connected both GND wires to the same wire, which I also did when soldering the GND wires. I also left a small gap between the soldering and the connector pins so that I could test the connections. After completing the soldering, all the connections were correct, but the solder joints weren’t very strong. To reinforce them against movements, I applied some plastic glue over each soldered contact. It was time to test everything. Since I didn’t have the male pin headers of the board soldered, I trimmed the tips of the toothpicks to secure each wire in each board hole. Here is the final result:
And just to make it look cool I added a sticker:
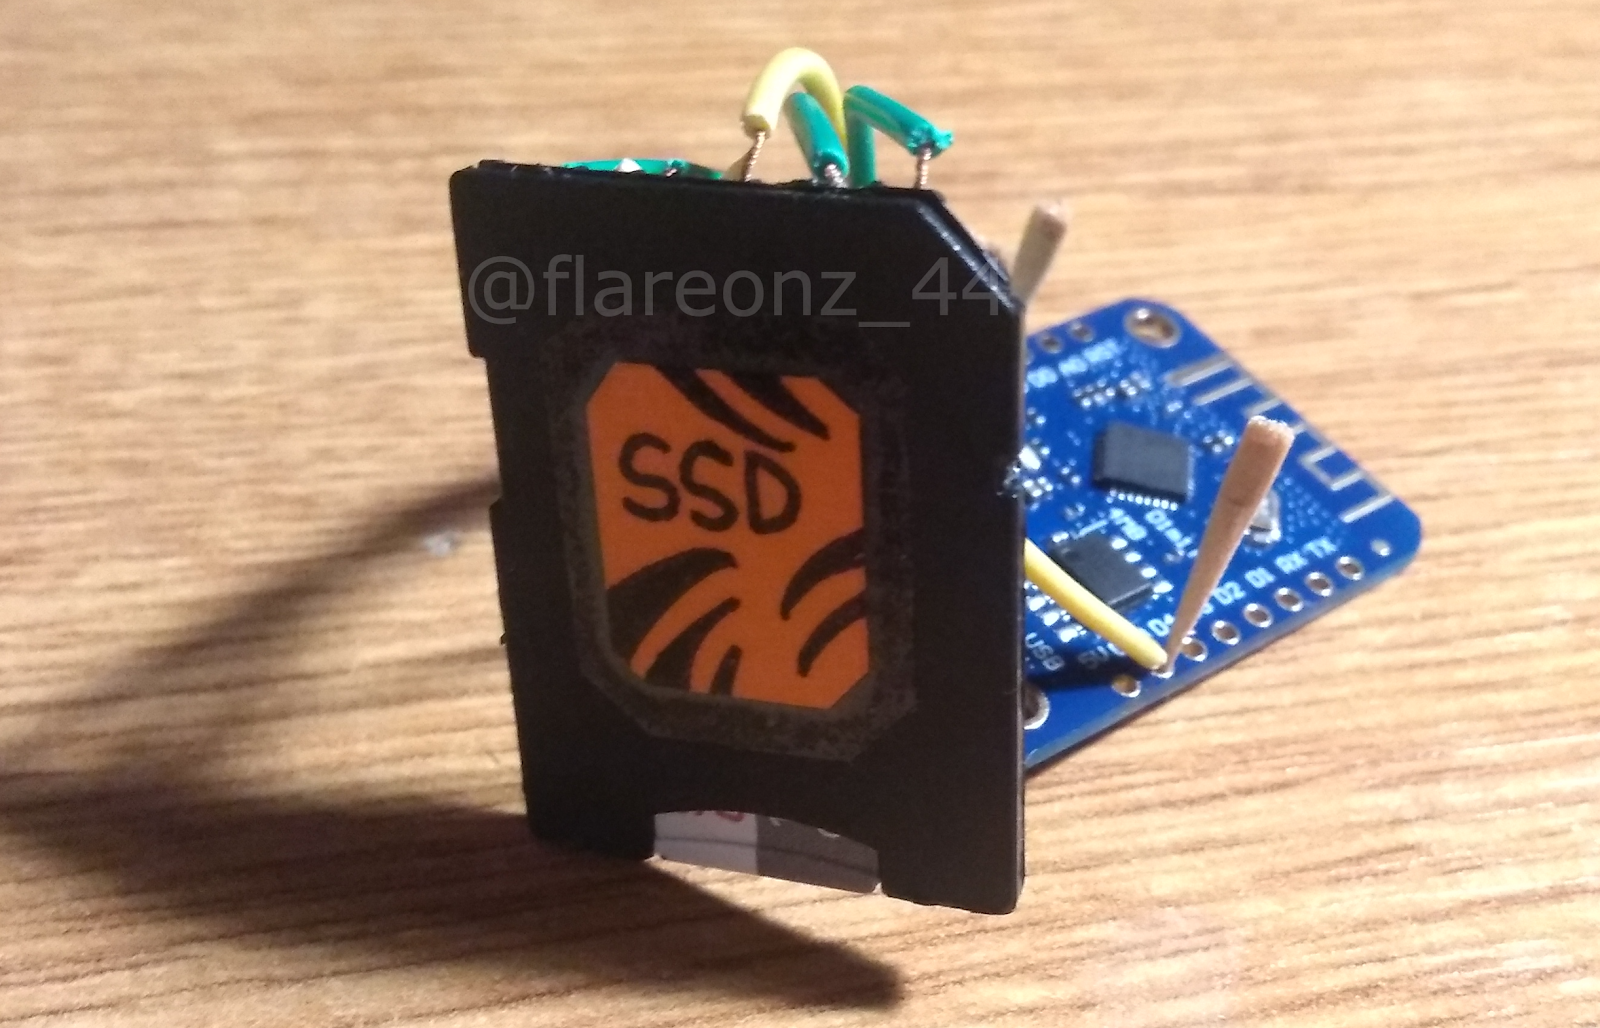 (yeah, I know it’s not and SSD, but looks good anyways 😎)
Testing
I came across several code snippets online, but many of them resulted in numerous compiling errors in the Arduino IDE. After several tests, I found that the examples provided within the ESP8266 library were the ones that worked for me. Interestingly, some of the examples from the ‘Examples-V1’ sub-menu didn’t even compile. Instead, I opted for the examples labeled under ‘ESP8266SdFat’ and found success with those.
Unexpected Twist
While testing various code snippets, I consistently encountered the same error message: ‘No SD card connected’ or ‘bad wiring,’ as displayed on the serial monitor. It was then that I noticed a flurry of random characters appearing after each reset on the serial monitor. Suspecting that the issue may be due to the high baud rate of 115200, I decided to lower it to 9600. Surprisingly, after this change, the code snippet started working flawlessly. It successfully detected the SD card and passed all the tests. So strange!
Conclusion
Despite the considerable effort it took me, primarily due to testing different code and rewiring, it turned out to be a rewarding little project. I hope you found it helpful for your own projects or, at the very least, an interesting read. Until we meet again in another post!